Tel/WhatsApp/WeChat: +86-18752068807
Email: [email protected]
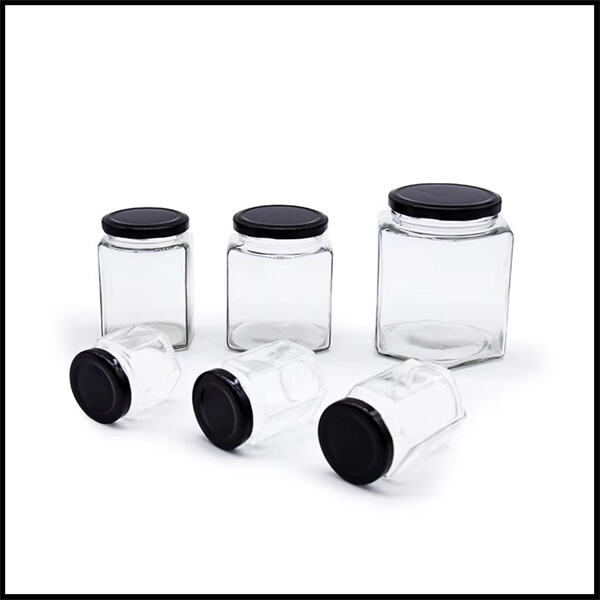
Seal your favorite fruits with these simple methods. Homemade jam is a delicious way to eat fruit throughout the year. Whether you prefer strawberries, blueberries, or peaches, covering jam jars can keep your tasty creations fresh for months. With the correct tools and techniques, you can make sure your jam remains safe to eat and free from spoilage.
Keep your home made jam air tight and fresh with correct jar sealing. After you’ve created your jam, be sure to use a proper sealing method to keep your jars fresh. Sterilising jam jars is a vital part of the process as it stops air and bacteria from getting to the jars. This helps to seal the jam and prevents it from going bad too fast. Fortunately, with a little know-how, your homemade jam can stay fresh and appetizing.
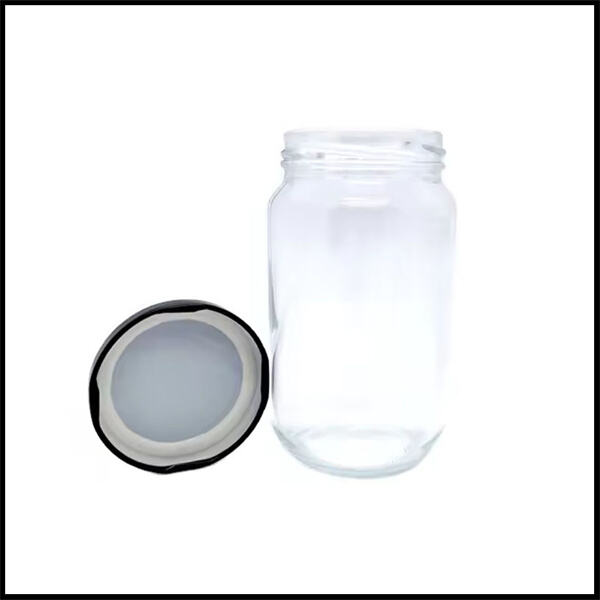
Don't let your jam jars spoil or mold.Read on to learn how to seal jam. The biggest danger in preserving jam is that it spoils or grows mold. When the jars are not well sealed, air and bacteria can enter, and the jam goes bad. The jam can also become mouldy on the surface, if it is not sealed properly. To prevent these issues, it is crucial that you seal the jam properly. Sealing your jars thoroughly when you can take a little longer will help you establish that your jam is safe to eat.
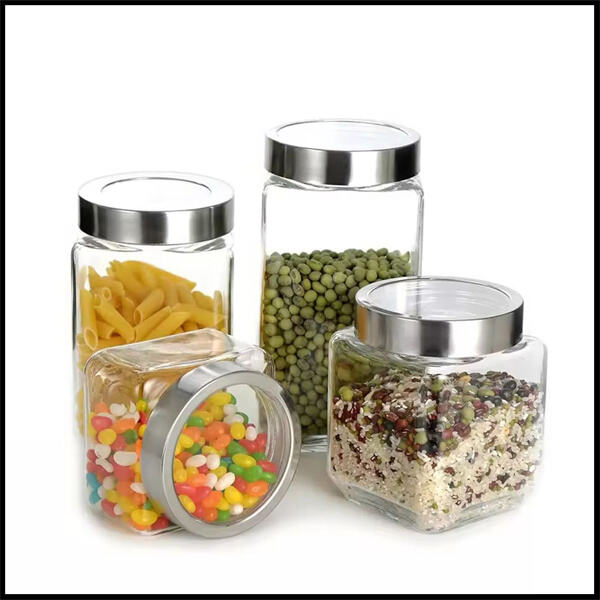
Learn to seal jam jars to ensure they last. Knowing how to seal jam jars properly can help you save your favorite fruits for some time to come. With the right tools and techniques, you can ensure your homemade jam stays fresh and tasty for months. Effective sealing will also help to protect your jam against spoilage and mold. With some practice, you’ll be able to seal jam jars like a champ and enjoy your homemade preserves for the months to come.
Instructions on How to Seal Jam Jars Like a Pro. Once you have the right procedure, sealing jam jars is simple. First, you should ensure your jars and lids are clean and sterilized. This will also help disallow mold and bacterias to grow in your jam. Then, fill the jars with your tasty jam, leaving about 1-inch of space at the top. Wipe the rims of the jars clean, set the lids on top and screw on the bands until they are fingertip tight. Step 12) Finally, process the jars for the appropriate length of time in a boiling water bath. This will form a vacuum seal that keeps your jam fresh and sealed.
Anveena, a trusted and reliable partner that is more than a vendor. Anveena is a trusted and reliable partner. Our expertise, knowledge and relationships allow us to provide the best service possible. The equipment we use for production is of top quality and we have certified sealing jam jars.
we appreciate the trust and sealing jam jars of our clients so we cherish every chance and every opportunity from our customers professionally packaged and transported goods can ensure that the goods arrive safely the after-sales attention and concern is crucial to make the customers feel more comfortable
We are able to customize designs from earlier development to mass production step by step, from the drawing's sealing jam jars, sample confirmed, PPS confirmed. We take it seriously to verify and ensure that the products are of high-quality and delivered to clients' warehouse. We pay attention to every detail from the drawings to samples and the final product.
We have the most advanced inspection equipments. When you select Anveena is the best way to get what you need. Anveena can create a design to your sketches, examples, or even your sealing jam jars. They can also provide customizing, developing ideas, as well as sensible suggestions, to make them true. Anveena can assist you not only on our glass jars, glass bottles however, she can also give guidance on the closures, decor, and logistics.
 EN
EN
 AR
AR
 BG
BG
 HR
HR
 DA
DA
 NL
NL
 FI
FI
 FR
FR
 DE
DE
 EL
EL
 HI
HI
 IT
IT
 JA
JA
 KO
KO
 NO
NO
 PL
PL
 PT
PT
 RO
RO
 RU
RU
 ES
ES
 SV
SV
 TL
TL
 IW
IW
 ID
ID
 SR
SR
 UK
UK
 VI
VI
 HU
HU
 TH
TH
 TR
TR
 FA
FA
 MS
MS
 GA
GA
 HY
HY
 BN
BN
 LA
LA
 MY
MY
 KK
KK
 UZ
UZ
 KY
KY